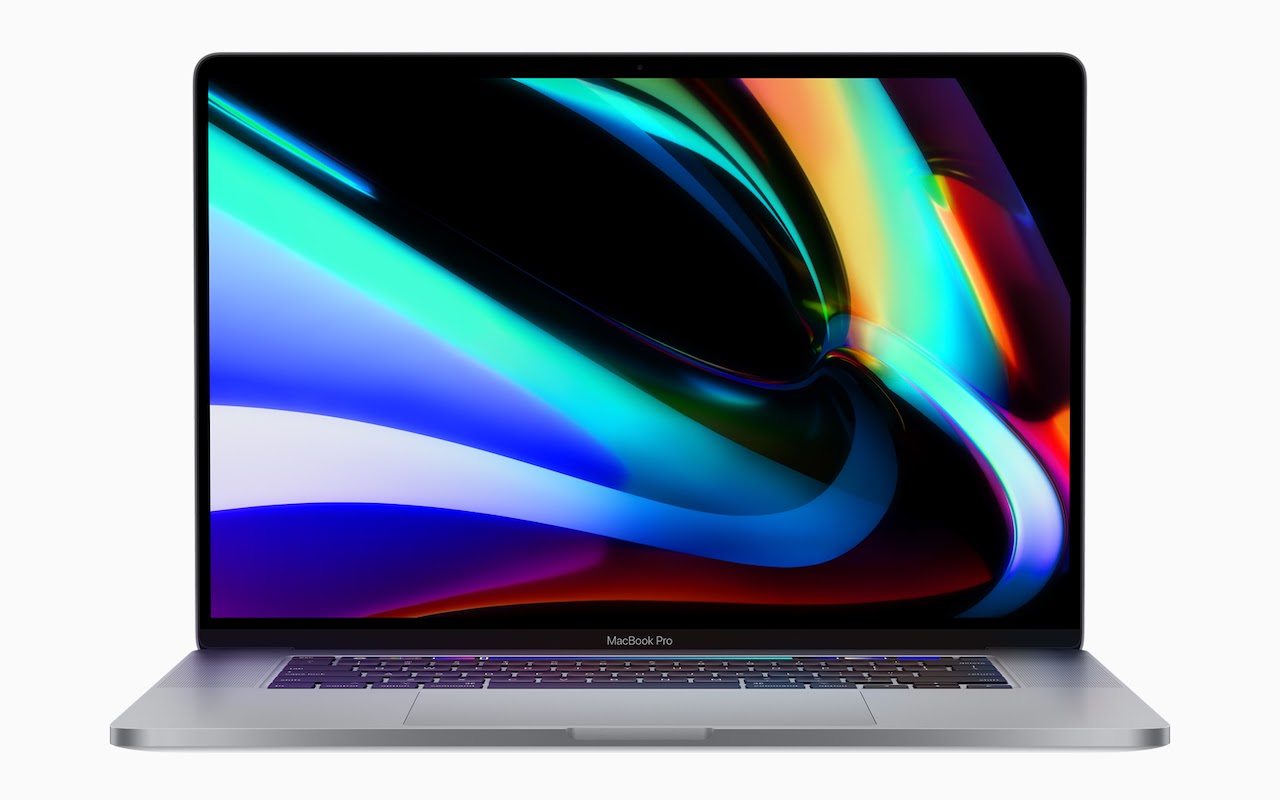
Apple Releases Redesigned Mac Pro and Pro Display XDR
The iPhone 11 Camera App’s Shutter Button Works Differently—Here’s How
With the iPhone 11, iPhone 11 Pro, and iPhone 11 Pro Max, Apple changed the way the Camera app’s shutter button works in ways that could cause confusion. Tapping it once still takes a single still photo, but if you press and hold on the shutter button, it now captures a quick video. (Previously, pressing and holding on the button took photos in burst mode; to do that on the iPhone 11 models, slide the shutter button to the left.) Once you’ve started taking a quick video, slide your finger to the right to lock recording, so you don’t have to keep holding the button down. Tap the white shutter button to take a still image while recording; tap the red record button to stop recording. For even easier quick video recording, press and hold either of the volume buttons; a single press still takes a photo. Note that quick videos always record with mono sound and at a resolution of 1920-by-1440; for stereo sound and the resolution set in Settings > Camera, use the Camera app’s Video mode.
(Featured image by Agê Barros on Unsplash)
A few of the 437 times we talked about cameras.
(Just kidding… or are we?)
- Tired of Skewed Lines in Your Photos? Use the Camera App’s Hidden Level.
- Use Continuity Camera to Scan Documents and Take Photos Right into Mac Documents
- Remember That You Can Search for Nearly Anything in Your Photos Library
- The Secret Keyboard Shortcut for Comparing Before/After Edits in Photos on the Mac
Need to Move Lots of Data Between Macs? Try Target Disk Mode
Make Sure to Test Your Backup System with Occasional Restores
Did you know that the word for the irrational fear of Friday the 13th is paraskevidekatriaphobia? Neither did we, but what that supposedly unlucky day is good for—whenever it rolls around—is reminding us to test our backup systems. If something does go wrong, backups can save your bacon, but only if they’re actually working. So on Friday the 13th this month, take a few minutes to make sure you can restore files from Time Machine, see if you can boot from your bootable duplicate, and generally verify that your data really is being backed up successfully. And if you’ve already missed the 13th, today is a fine day to make up for it with a quick test.
(Featured image by Adam Engst)
You know you need these tips!
- Make a Backup before Upgrading to Catalina or iOS 13!
- Learn How to Autofill SMS Login Codes in iOS 12 and Mojave
- The Secret Trick That Lets You Paste Phone Numbers into the Phone App
- Go Beyond External Hard Drives with Network-Attached Storage
Did You Know You Can Drag the Scroll Bar in iOS 13?
In previous versions of iOS, a scroll bar would appear on the right edge of the screen while you were swiping through a long Web page, email message, or document. But the scroller was merely an indicator of where in the page you were and how much content there was (the bigger the scroller, the less content). In iOS 13 and iPadOS 13, however, Apple has made the scroll bar more helpful, and you’ll want to use it to scroll long pages more quickly than you can with swiping. To use the scroll bar, swipe slightly to make it appear, press and hold the scroller, and drag it to scroll. The only hard part is that it can be tricky to grab since it disappears a few seconds after you stop scrolling, and it’s a thin target to hit with a thick finger. But give it a try since it makes scrolling in long pages so much easier.
(Featured image background by Paweł Czerwiński on Unsplash)
More iOS tips just for you.
- iPhone Not Charging Reliably? Clean Its Lightning Port with a Toothpick
- Try Using a Magic Trackpad 2 with Your iPad Running iPadOS 13.4
- The Fastest Way to Change Wi-Fi Networks in iOS 13
- Set Your Preferred Name and Photo for Messages in iOS 13
Don’t Succumb to iOS 13 Update Fatigue!
In Case of Emergency, Create an iPhone Medical ID
Apple Business Manager Is a Win for Apple-Driven Workplaces
If you run a company, you know how much work onboarding a new employee can be. Beyond teaching them the ropes of your business, they’ll need a Mac and potentially an iPhone or iPad as well. Setting those devices up with all the right apps, settings, and logins can take days or even weeks. And that’s just for one person—imagine if you need to lather, rinse, and repeat for dozens or even hundreds of new employees?
The solution is Apple Business Manager, which ensures that every Apple device you purchase is associated with your corporate account—and in some cases, with a particular user—before it’s shipped to you. That enables zero-touch configuration and makes manual setup a thing of the past. Here’s how we make this happen.
We’ll work with someone at your company—your Business Contact—to set you up with two Apple programs: Apple Custom Store and Apple Business Manager. Your Business Contact will merely need to respond to some email messages from Apple and have a call with Apple to verify that they can agree to Apple’s Terms & Conditions on behalf of your company.
Apple Custom Store
The first program, Apple Custom Store, provides a customized corporate store for purchasing Apple devices. That’s important because all devices purchased through your Apple Custom Store are automatically tied to your company. In fact, they’re connected to your company until you intentionally release them while decommissioning, which can help protect against theft or employees keeping devices they shouldn’t.
Even more important, all new Mac purchases must go through the Apple Custom Store because there’s no easy way to add Macs purchased in any other way to Apple Business Manager.
Once you’re set up with an Apple Custom Store, we can suggest custom device configurations tailored to your company’s needs and even create templates for systems customized for different job roles. As a bonus, you’ll receive special “loyalty pricing” based on your annual purchase volume.
Apple Business Manager
The second program, Apple Business Manager, is what enables you to enroll and manage devices purchased through your Apple Custom Store. When we say “manage” we’re talking about mobile device management, or MDM. In essence, MDM systems allow IT administrators to define “profiles” that specify your company’s settings and policies. Those might be particular to a user, such as configuring email login credentials, or they might be general to everyone, such as security policies that require all iOS devices to use a six-digit passcode and Macs to turn on their screensavers after 2 minutes and require a password to unlock. And, of course, an MDM system lets your company control when to install operating system updates, ensuring that nothing happens before you’re ready.
You use Apple Business Manager to associate a new device purchased from your Apple Custom Store with the employee who will be receiving it. When the device arrives, the employee unboxes it and turns it on, and your MDM system goes to work downloading apps and configuring settings. Once the employee signs in with their credentials, the MDM system continues to configure the device for that person. No one from IT even has to touch it—hence “zero-touch” configuration.
Enrolling your devices in your MDM system via Apple Business Manager doesn’t just help with initial deployment. Employee turnover is a fact of life, and with a device in Apple Business Manager, you can use your MDM system to redeploy a device quickly by wiping it and re-enrolling it for the new employee.
We recommend that all Apple-using businesses purchase through an Apple Custom Store and use Apple Business Manager to tie those devices to the company’s MDM system. Contact us for more information about what’s involved, and for our MDM recommendations.
(Featured image by Annie Spratt on Unsplash)
More stuff you should read…
- Forrester Research and IBM Studies Show Macs Are Cheaper than PCs
- Macs Switching from Intel Chips to Apple Silicon: Answers to Your Questions
- Beware Scammers when Selling Your Old Tech Hardware Online
- New 16-inch MacBook Pro Sports a Redesigned Scissor-Switch Keyboard
- Apple Releases Redesigned Mac Pro and Pro Display XDR
More great tips from the archives…
- Two Secret Key Combos for Forward Delete on the Magic and MacBook Keyboards
- iCloud Photo Library Users: Do NOT Turn Off iCloud
- Ever Wondered Which Words to Capitalize in a Title? Use Capitalize My Title!
- Tips for Setting Up a Comfortable and Effective Home Work Space
- Tips for Better Videoconferencing
- Set Your Preferred Name and Photo for Messages on iOS
- The Fastest Way to Change Wi-Fi Networks in iOS
- What to Put at the End of Your Emails
- Apple Business Manager Is a Win for Apple-Driven Workplaces
Consider USB Peripherals When Troubleshooting Mac Problems
If you’re experiencing a sporadic problem with your Mac, the sort of thing that happens often enough to be annoying but not so frequently as to be reproducible, allow us to suggest one little-known troubleshooting tip. Malfunctioning USB devices—keyboards, mice, hubs, printers, etc.—can sometimes cause truly inscrutable problems ranging from startup issues to kernel panics. USB-caused issues aren’t common, but when they do happen, they can be challenging to track down. If you’ve tried everything else, disconnect all unnecessary USB devices and, if possible, swap your wired keyboard and mouse for another set. Then see if the problem goes away.
(Featured image by Adam Engst)
Looking for more troubleshooting tips?
- How to Ask for Tech Support So You Get Good Answers Quickly
- Having Mac Troubles? Running Apple Diagnostics May Help Identify the Problem
- Troubles with Messages? Read On for Ten Possible Solutions
- iCloud Services Being Wonky? Check Apple’s System Status Page
Be Careful in iOS 13’s Mail App—the Trash Button Is Where Reply Used to Be!
For unknown reasons, Apple redesigned the toolbar in the iOS 13 version of Mail. Such things happen, but this time, Apple made a big mistake and moved Mail’s Trash button to where its Reply button used to be. Lots of people who have become accustomed to tapping Reply are now finding themselves deleting messages inadvertently, since a tap in the same location in iOS 13 deletes the message. It’s hard to retrain muscle memory—the ability to reproduce a particular movement without conscious thought—but if you find yourself deleting messages accidentally, you’ll need to slow down and remember to tap the new location of the Reply button.
(Featured image by Skitterphoto from Pexels)
More tips to make the most of your iOS devices.
- iPhone Not Charging Reliably? Clean Its Lightning Port with a Toothpick
- Did You Know You Can Drag the Scroll Bar in iOS 13?
- Some of Our Favorite Features of iOS 13 and iPadOS 13
- The Fastest Way to Change Wi-Fi Networks in iOS 13
- Everything you need to know about Multi-Tasking in iPadOS 13